Are you a big fan of the ocean’s smallest marine life? If crazy critters like nudibranchs and frogfish get you excited, it might be time to explore the world of macro photography. Imagine capturing even the smallest details of your favourite subjects so you can study them up close for years to come. And, with the right tools and techniques, divers of nearly any skill level can get started. Keep reading for ZuBlu's top tips on everything from gear to composition and a few pointers to help you look like less of a beginner...
What is macro photography?
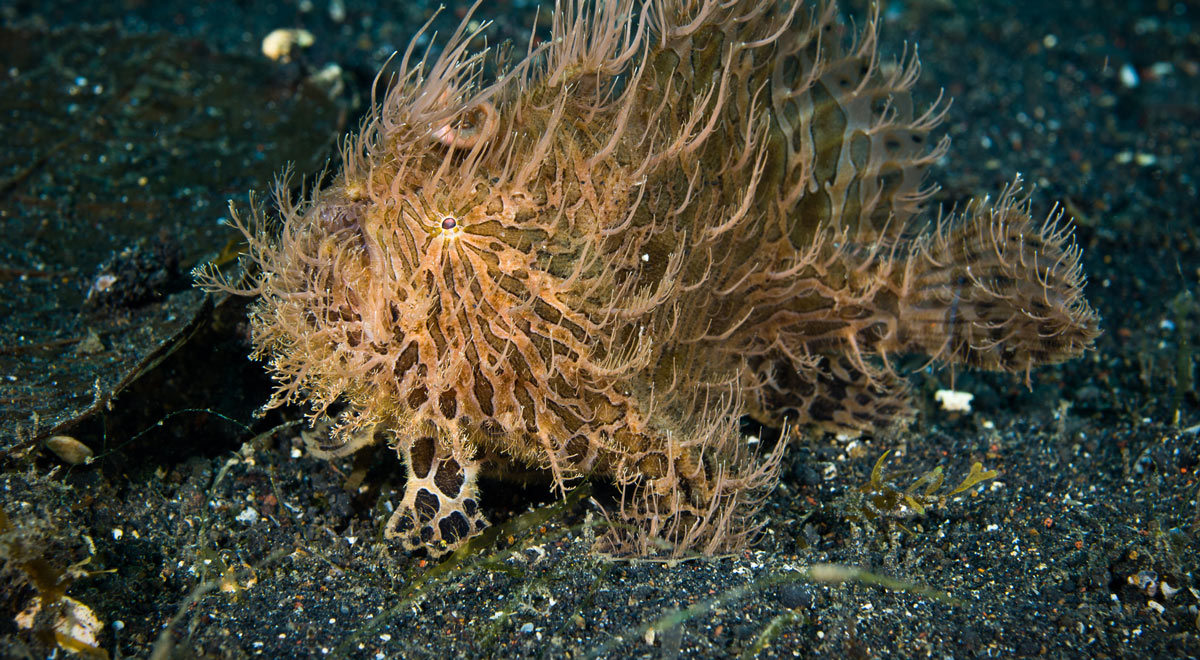
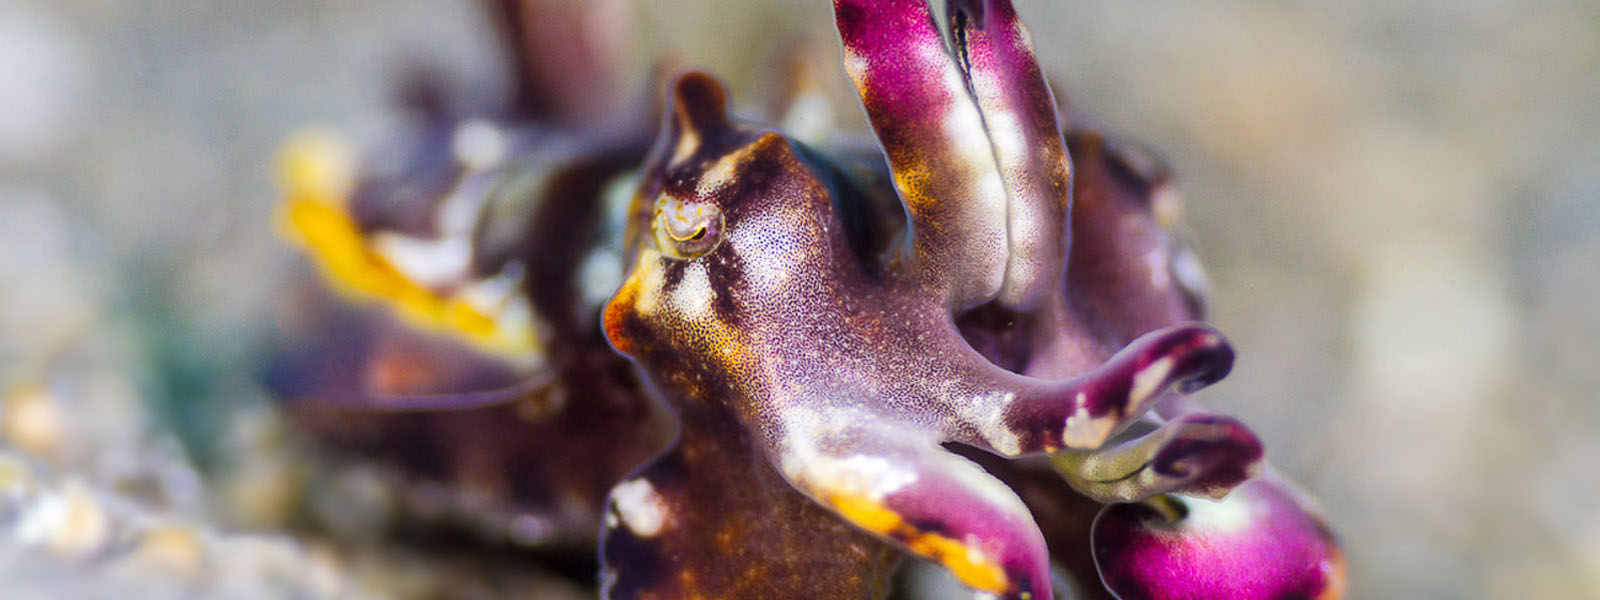
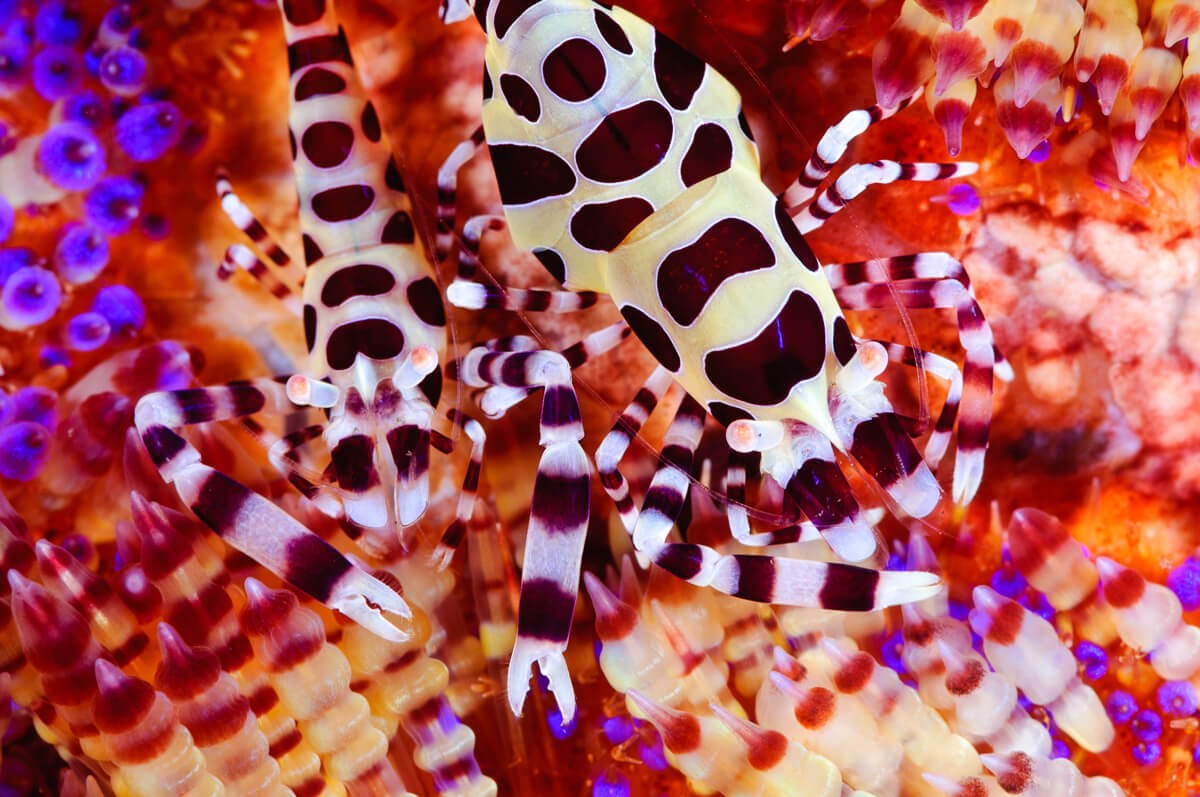
So, what is macro photography anyway? And, why is it called macro instead of micro? When divers talk about macro, they are usually referring to an incredible variety of super small species. These can include minuscule crabs and shrimp, nudibranchs, frogfish and pipefish, a whole variety of cephalopods, and strange, hard to define animals like Rhinopias and bobbit worms. At first, this list of bizarre wildlife might seem disjointed - but macro photography subjects do all share one essential characteristic. Each of these species requires the use of a magnifying lens to capture it in full detail. The name macro refers to the technique of completely filling your frame - not to the size of the subject itself.
While macro photography is an essential part of muck diving, this isn't the only environment where you can capture great shots of life in miniature. Macro photography can be used to capture details of any subject - for example, a tightly focused shot of the shark’s. You can also use macro to highlight animals like juvenile reef fish, seahorses, and nudibranchs that live in a wide variety of habitats. In fact, as well as the subjects' size, macro photography can also be defined by the specialised tools that it requires.
The right tools for the job
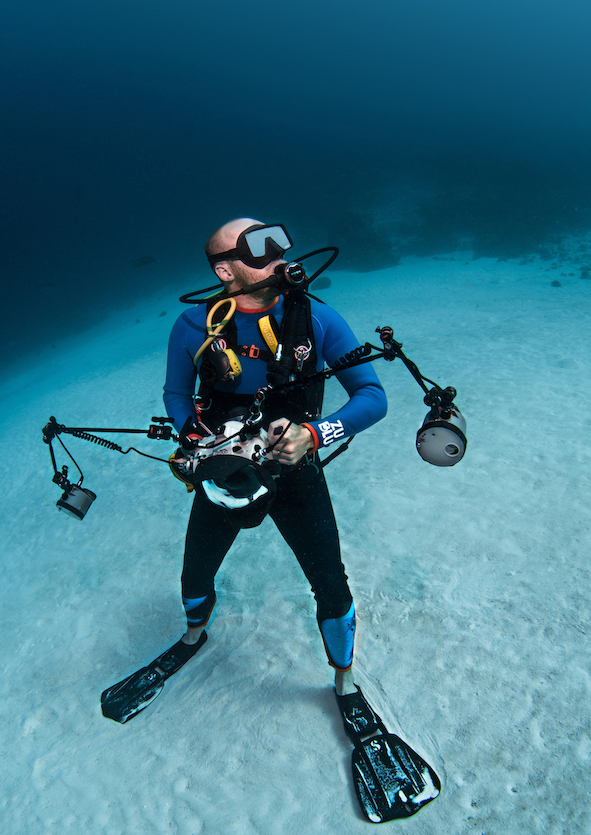
Because macro species can be so small, they often require specialised equipment for photography. But that isn't true 100% of the time. If you are brand new to taking pictures underwater, a point and shoot camera with built-in macro settings may be a good starting point. Once you've mastered techniques like composition and you're confident with your neutral buoyancy, you'll be ready to upgrade to a bigger and better camera "rig". These bulkier DSLR setups may seem intimidating at first, but they offer you greater control over each shot than a compact camera, allowing you to control your aperture, shutter speed, lighting, and more!
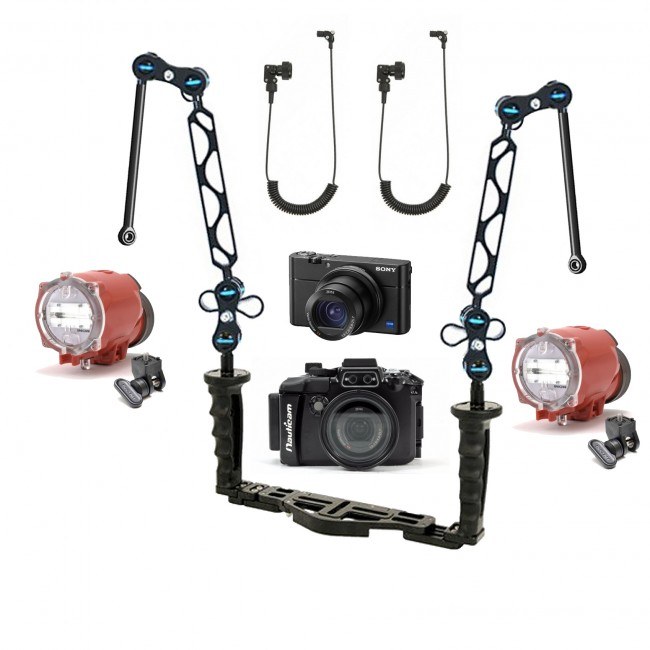
Camera equipment for underwater macro photography
The primary differences between macro and wide angle photography are the type of lens that you'll be using and how close to your subject you'll be able to get. Generally speaking, a wide angle lens allows you to capture more of the scene in your frame - that's why they work so well for landscapes! On the other hand, macro photography uses a type of lens that reduces the field of view to a much smaller area.
If you are using a compact camera, your macro lens will be built in. But, for more advanced setups, you'll need to carry a variety of lenses for different types of photography. Different setups use specialised ports and even diopters to allow you to change lenses and fields of view quickly and easily. Some enable you to screw different lenses on and off and store them safely, all while underwater. This is especially important for capturing impossibly small "super macro" that will require a far more powerful lens.
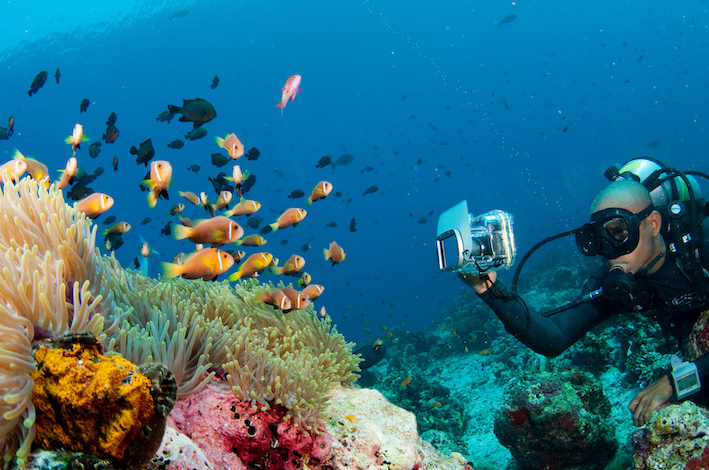
Keep in mind that even if you are using a macro lens, you'll need to get close to your subject in order to capture it in detail. And, you'll need to be patient. Selecting the right camera settings and taking a variety of shots is time-consuming. But, you'll get faster with practice, and a little more selective, choosing more special or specific wildlife to photograph instead of the "spray and pray" tactics employed by most newbies.
Lighting for macro wildlife
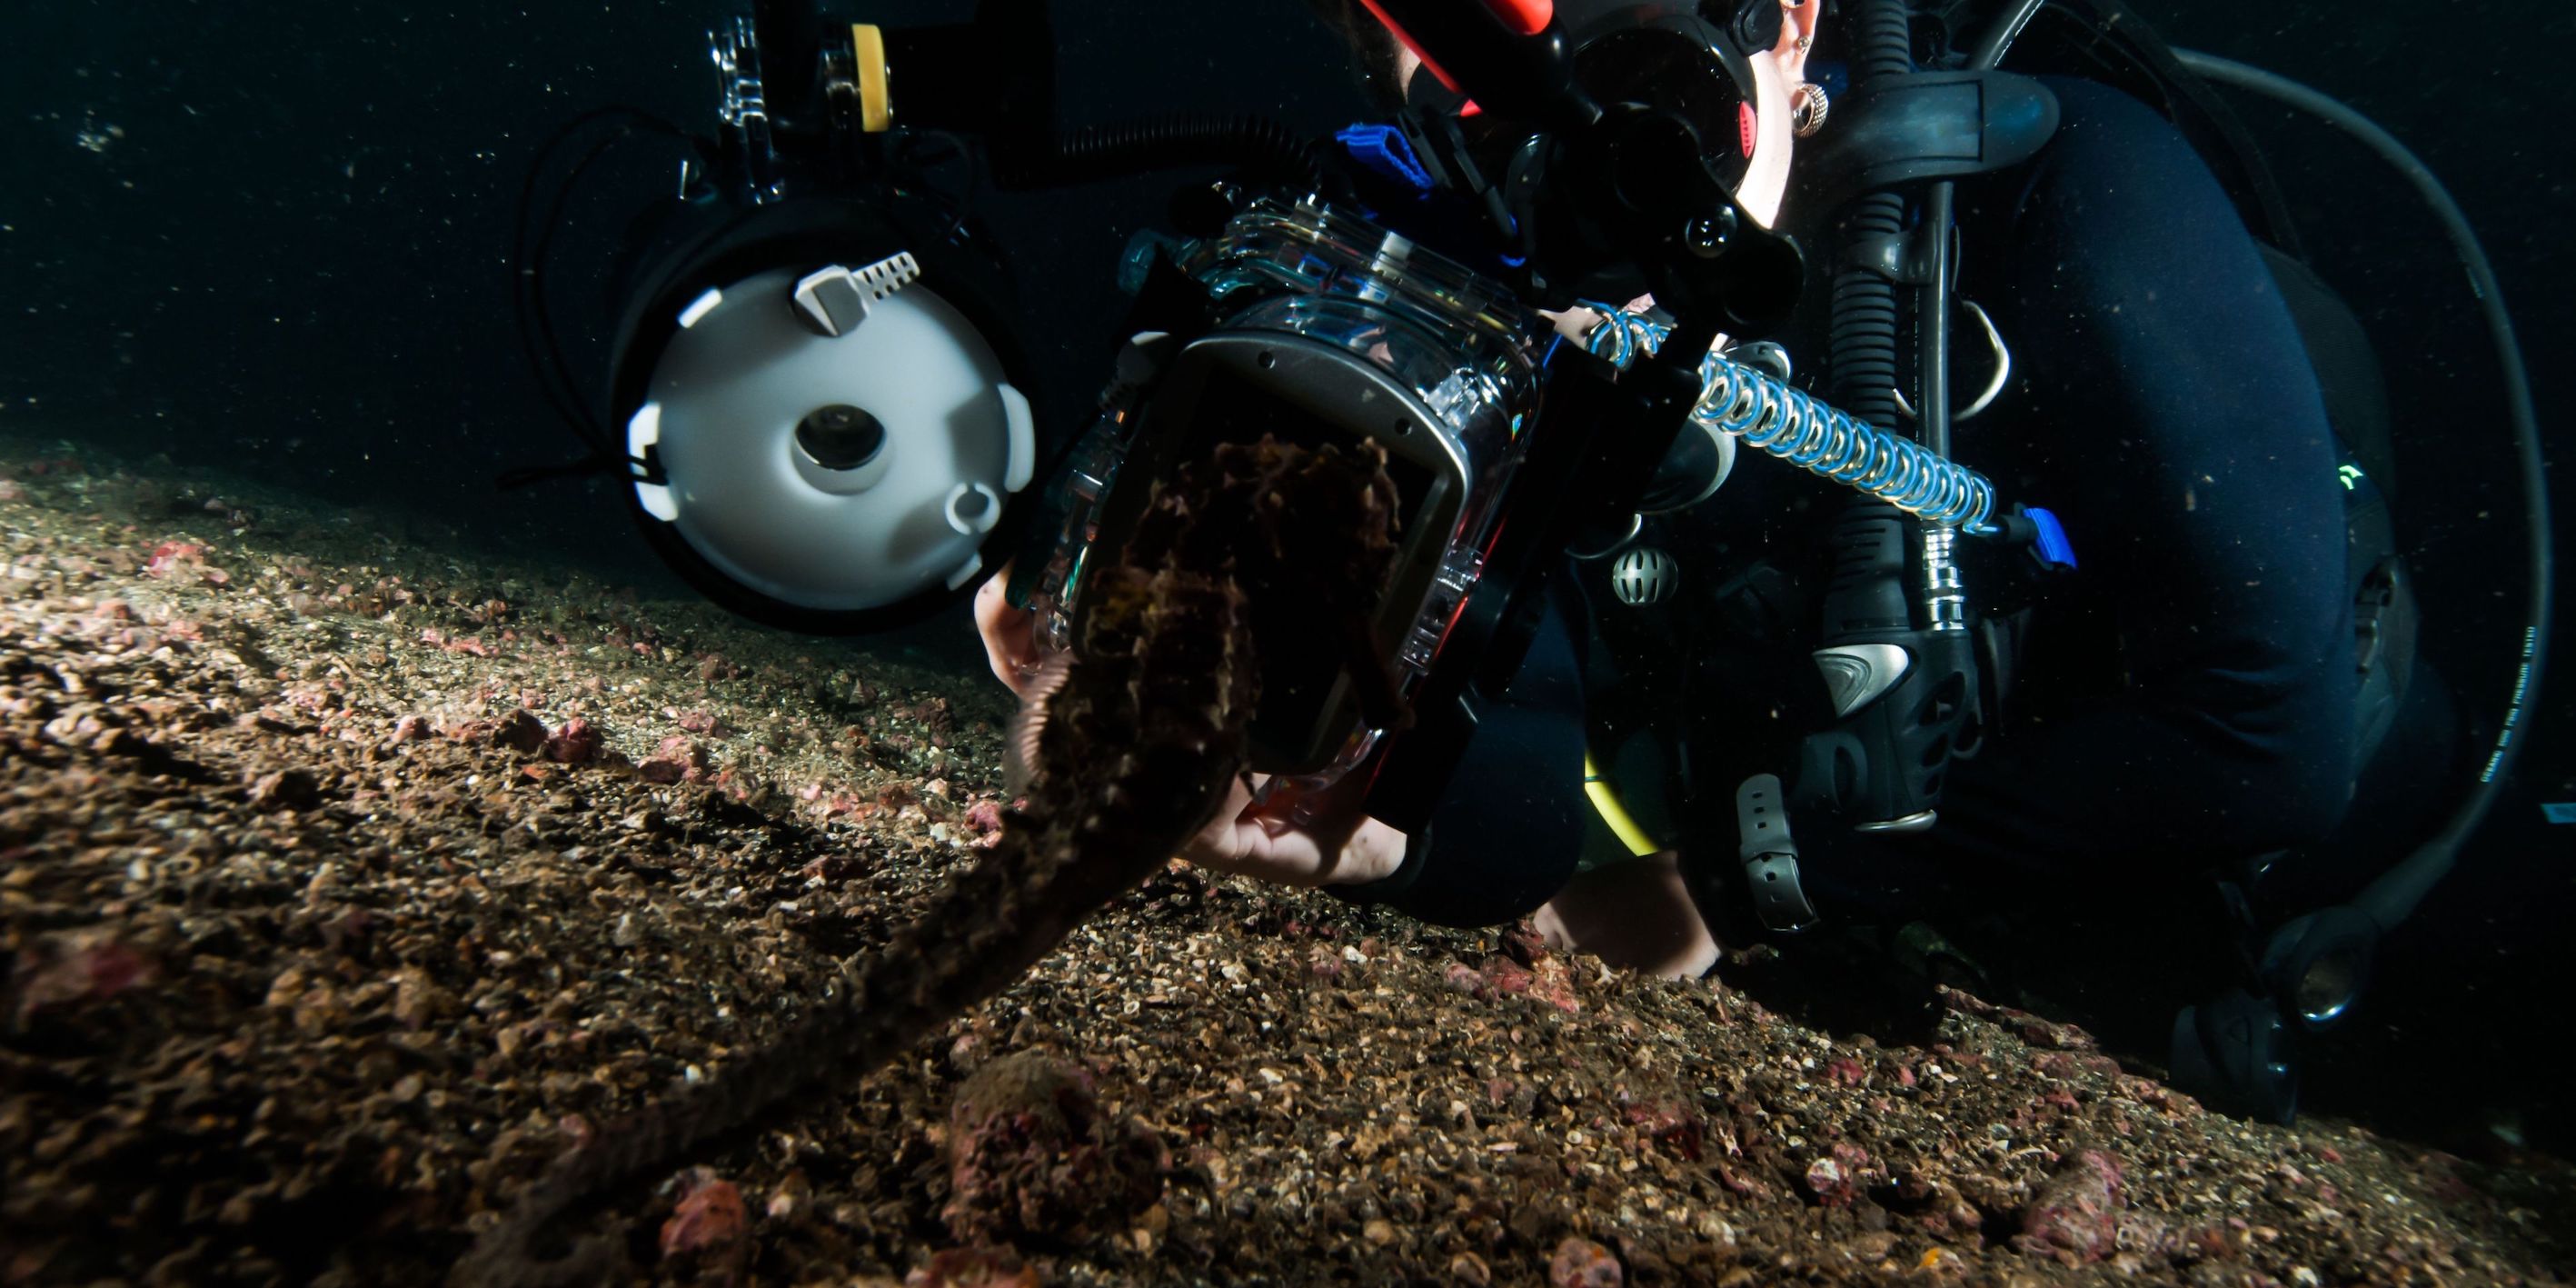
Underwater photography almost always requires some sort of lighting. And, macro is no exception! In fact, lighting is one of the trickiest parts of capturing this type of image because, without perfect lighting, tiny critters can look dimensionless or blend into its background. You'll also have the added challenge of shooting extremely close to your subjects. Options for lighting start with the built-in flash on compact cameras and extend to a wide range of strobes, torches, and high-tech gadgets to help illuminate your subjects.
Strobes are external lighting devices that can be used with either compact or DSLR cameras. In most cases, they will be triggered to automatically fire when you take pictures using connection points, like fibre optics. While using two strobes is the most common setup, you can shoot with just one - or as many as you like. The key is to position them properly, choose the right brightness, and diffuse the light perfectly to capture your desired effect.
Video lights are also useful for macro photographers. These are underwater torches that mount to your camera or housing, offering a continuous stream of light. Video lights can be used with or instead of a flash, and may also double as lighting for action cameras and other photo setups. If you're hoping to capture a thin beam or "spotlight", you might also consider adding a snoot to your lighting rig - this artistic tool can help to perfectly illuminate small subjects while leaving a crisp black backdrop.
Know your angles
If you’re new to underwater lighting, it might take you a while to get used to positioning your strobes and lights. Unfortunately, it’s not enough to simply “set it and forget it” - in fact, you’ll likely need to change your lighting for each new subject. Consider where the light should be coming from - a side, above, or dead on - and how bright it should be? A light that’s too bright can stun or blind the subjects you’re shooting, so less is often more - this goes for how bright your flash is as well as how many times it fires.
Angles can be especially important if you are trying to highlight one specific part of an animal, for example, its gills or textured skin. You’ll also want to avoid highlighting backscatter accidentally. This name is given to the nearly microscopic floating particles in seawater that your flash or video light may unintentionally illuminate. Lighting diagonally or from the side can help to reduce this effect but won’t guarantee a shot free from unwanted floaters.
Backgrounds and composition
Setting up the perfect macro shot comes down to composition just as much as it does to using the right tools. Simply put, all the gadgets in the world can't guarantee amazing pictures. You'll also need an artistic eye and a bit of practice with what works. But, start by following these tips to save a bit of time with experimentation.
Capturing the moment
What exactly are you trying to showcase about the critter you're photographing? To take breathtaking photos, you'll need to think about capturing a specific moment and presenting it in a way that gets the viewers' attention. Examples include animals hunting, changing their body position, yawning, or carrying their eggs in a unique way.
For subjects that don't move much, you'll want to focus especially on angles and composition. Consider how much of your camera's frame the organism should take up and which part of its body you're hoping to focus on. For example, animals like nudibranchs have both stunning rhinophores and gills - which are you hoping to show off with your photography? This could determine whether your subject should be shot from a front, side, or top angle.
Placing your subject in the camera's field of vision is another crucial step toward visually interesting composition. You might prefer to use the rule of thirds or golden spiral to set your shot up perfectly. Or, try filling the frame entirely to add drama to your image. These advanced composition techniques will require a bit of practice but can eventually help take your photography to a whole new level.
Background and depth of field
When it comes to making macro photography pop, your background is one of the most important considerations! Dark solid colours, like blue, black, and green, can help neon shades come to life. They can also help showcase light coloured subjects that would otherwise blend into their surroundings. Likewise, a textured background can demonstrate the contrast between a subject and its environment, whereas an entirely solid one will help to solidify its outlines without any size references.
Background is also closely related to depth of field, sometimes referred to simply as DOF. This term describes how much of your image is in focus in front of and behind your subject, which will determine whether your background is blurred or focused. An out of focus background can help hard-to-spot animals pop out, making them look more three-dimensional. On the other hand, a crisp, focused backdrop can help show off a subject's size and contrast with the surroundings. While you may have little control over settings such as the aperture using a point and shoot camera, more advanced models will allow you to make adjustments. While this specific setting may sound super complicated, it's actually pretty easy to remember. A large aperture - shown as a small f-stop number like f/2 - will blur your background, creating depth, while a small aperture will bring more of the background into focus.
Stalking macro subjects
When it comes to capturing a crystal clear and detailed macro shot, there's more to the technique than equipment and camera angles. In fact, your scuba diving ability is just as important as photographic talent and a bit of prior research can make or break your "critter hunt", helping you score that dream shot.
Other tools and techniques
While photographing macro subjects, you'll want to move slowly and deliberately. This will help you focus on the details of each dive site and locate smaller subjects with ease. Slow, intentional movements can also help you improve your neutral buoyancy and avoid stirring up sediment in the water. This is also one of the best ways to improve your air consumption, especially if you're diving with heavy camera equipment. Use long, slow fin kicks and avoid swimming with your hands for the best results. Good form can add precious minutes to your bottom time, giving you more opportunities to shoot each subject!
The use of a stick or pointer can be especially helpful if you're shooting in a silt or muck environment. This small metal rod can be used to steady yourself while taking pictures, reducing the chances of disturbing the bottom composition. It can also be left in place to "point out" animals, helping other divers locate a super small subject if they are waiting to shoot after you. Keep in mind that sticks and pointers should never be used on a bottom composition that contains coral because they can cause damage. And they should never be used to lift or move macro subjects. Although you may see some divers encouraging animals to move - or even relocating them by hand, it's best to keep your encounters passive and capture macro critters in their natural state. That's what underwater photography is all about!
Guided macro diving
Are you hoping to photograph one specific macro subject? If so, hiring a local guide is absolutely your best bet. In critter hotspots like Ambon and Lembeh, you'll be working with eagle-eyed spotters, some of whom have decades of experience on the specific dive sites you've come to explore. They'll also have experience handling camera equipment and helping photographers set up their shots for the best possible composition. Even if you're in a part of the world that isn't known for macro, hiring a pro is guaranteed to up your odds for cool creature encounters. Local divers can help you spot oddities like nudibranchs, frogfish, and seahorses, sometimes where you'd least expect them!
Lastly, if you're on the hunt for a few specific macro critters, it's essential to do a little research before your trip. Find out where each animal on your wish list lives and what environments you are most likely to spot one in. Then, focus on their preferred hiding places and foods. Even though you'll likely be diving with a highly skilled guide, there's nothing more satisfying than scoring your very own incredible macro find!
Are you ready to try your hand at shooting macro photography? ZuBlu can help! Use our search to explore critter hotspots like Lembeh Strait and Ambon, or flip through our resources for fun information on amazing macro animals. Ready to book? That's awesome! Get in touch with our team of travel experts to get started now.